DIY Virtual Electric Guitar Rig
Electric Guitar Music Production
Introduction to Amp Modeling
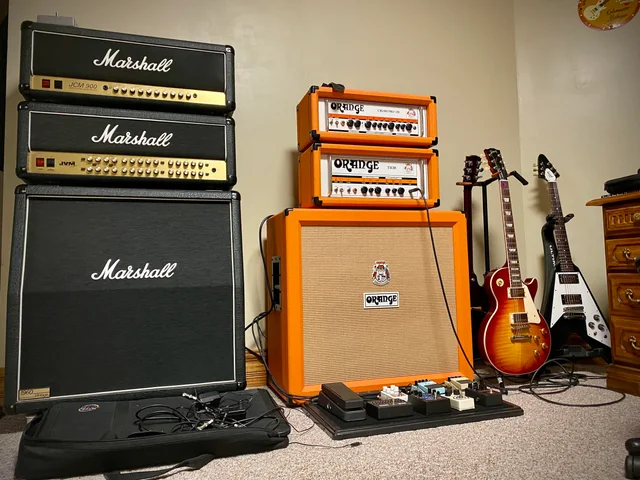
For decades, guitar players have been chasing the perfect tone, often turning to expensive amplifiers and a mountain of gear to achieve their desired sound. However, digital amp modeling has revolutionized this pursuit, making it possible to access a world of iconic tones with just a computer, some affordable tools, and a guitar. In this guide, we’ll explore how you can use digital amp modeling to replicate the sounds of legendary amps without breaking the bank or dedicating half your living room to equipment.
Why Amp Modeling matters today
Digital amp modeling has become a game-changer for modern guitarists, offering unparalleled versatility and accessibility. Gone (subjectively) are the days when recreating the growl of a Marshall stack or the sparkle of a Fender Twin required purchasing bulky, costly amps. Instead, amp modeling software uses advanced algorithms to emulate the characteristics of real amplifiers with stunning accuracy.
This technology is particularly valuable for:
- Beginners who want to explore different sounds without a significant upfront investment.
- Intermediate players who want to refine their tone and experiment with various amp setups.
- Players in small spaces who can’t afford the noise or size of traditional rigs (and for college students like me).
- Recording artists looking for studio-quality tones without renting high-end equipment.
- Adopting amp modeling saves money and space and opens up creative possibilities that would otherwise be difficult to access. The tonal palette is practically limitless, from vintage warmth to modern high-gain crunch.
Link to related video on this topic by Paul Davids.
What you’ll need to get started
To dive into the world of amp modeling, you don’t need an arsenal of gear. Here’s what you’ll need:
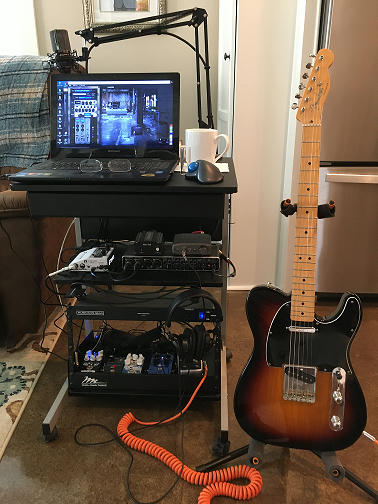
- Electric Guitar: The core of your rig. Any guitar will work, but the choice of pickups and build can influence your tone.
- Audio Interface: A device that connects your guitar to your computer and converts the analog signal into a digital one. Popular beginner options include the Focusrite Scarlett series or the Audient iD4 (more info on this later).
- Digital Audio Workstation (DAW): Software where the magic happens. A DAW is your hub for recording and applying amp models. Free options like Reaper or GarageBand are great starting points.
- Good Quality Instrument Cable: A clean, unprocessed guitar signal is essential for amp modeling to work effectively.
- Neural Amp Modeler (NAM): The centerpiece of this guide. NAM is a cutting-edge plugin that allows you to emulate various amps with remarkable precision.
Optional but useful tools include
- Studio Headphones for detailed listening.
- Studio Monitors for room-filling sound.
- MIDI Foot Controller for hands-free adjustments.
Choosing an Audio Interface
An audio interface is the cornerstone of any digital amp modeling setup, serving as the bridge between your guitar and computer. It converts the analog signal from your guitar into a digital format that your computer can process—and vice versa for playback. Choosing the right interface ensures you’ll achieve high-quality recordings and seamless performance.
Why I chose the Focusrite Scarlett 2i2
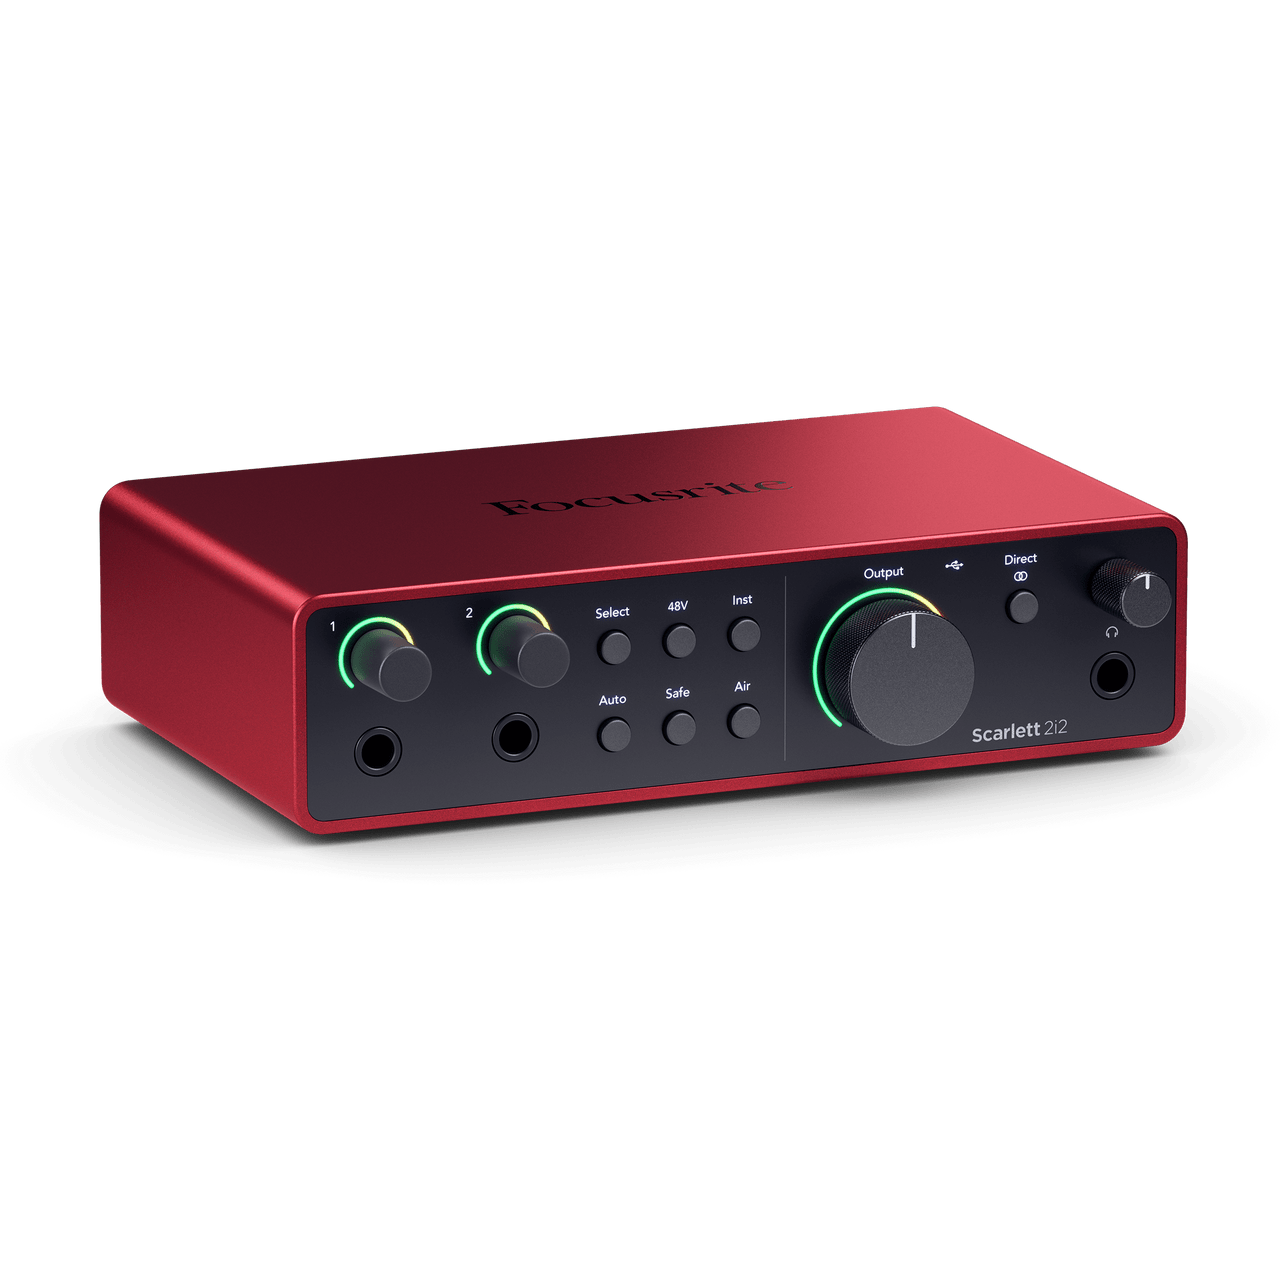
For my project, I chose the Focusrite Scarlett 2i2 (4th Gen), a popular choice for beginner and intermediate players. It’s affordable, reliable, and user-friendly, making it ideal for those just starting their home recording journey. With two inputs and outputs, this interface provides flexibility for guitarists, vocalists, or anyone looking to record multiple instruments simultaneously.
Another reason I chose this interface is its bundled software package, which includes Ableton Live Lite. This lightweight DAW is perfect for beginners who want to experiment with amp modeling and recording.
Download Ableton Live Lite and explore its features.
What to look for in an Audio Interface
If the Scarlett 2i2 doesn’t suit your needs, here are some key factors to consider when selecting your audio interface:
- Number of Inputs and Outputs: Choose based on the number of instruments you plan to record simultaneously.
- Resolution and Sample Rate: Higher values provide better sound quality. Look for at least 24-bit/96kHz.
- Latency: Low latency is crucial for live monitoring without delays.
- Connectivity: Most beginner interfaces use USB, but Thunderbolt interfaces offer lower latency if your setup supports it.
- Portability: If you plan to travel with your interface, opt for a compact, durable model. For budget-conscious players, options like the Focusrite Scarlett Solo or Behringer UMC22 are also excellent starting points.
Link to detailed guide.
Connecting your rig
- Plug Your Guitar into the instrument input of your audio interface using a standard 1/4-inch cable.
- Connect the Interface to Your Computer via USB (or Thunderbolt, depending on your interface). Ensure your computer recognizes the interface.
- Select the Interface in Your DAW: Open your DAW (e.g., Ableton Live Lite, GarageBand, or Reaper) and configure it to use your audio interface as both the input and output.

Exploring the Built-In Amp Library in Garage Band
Note: I’m using a 16-inch 2021 MacBook Pro with the M1 Pro chip for this project.
For those new to amp modeling, GarageBand offers a fantastic starting point. This free DAW, available to Mac users, has a built-in library of amp simulations that lets you experiment with a wide range of tones. Whether you’re after the clean shimmer of a classic Fender, the crunchy distortion of a Marshall, or something modern and experimental, GarageBand’s amps have you covered.
Getting Started with Garage Band’s Amps
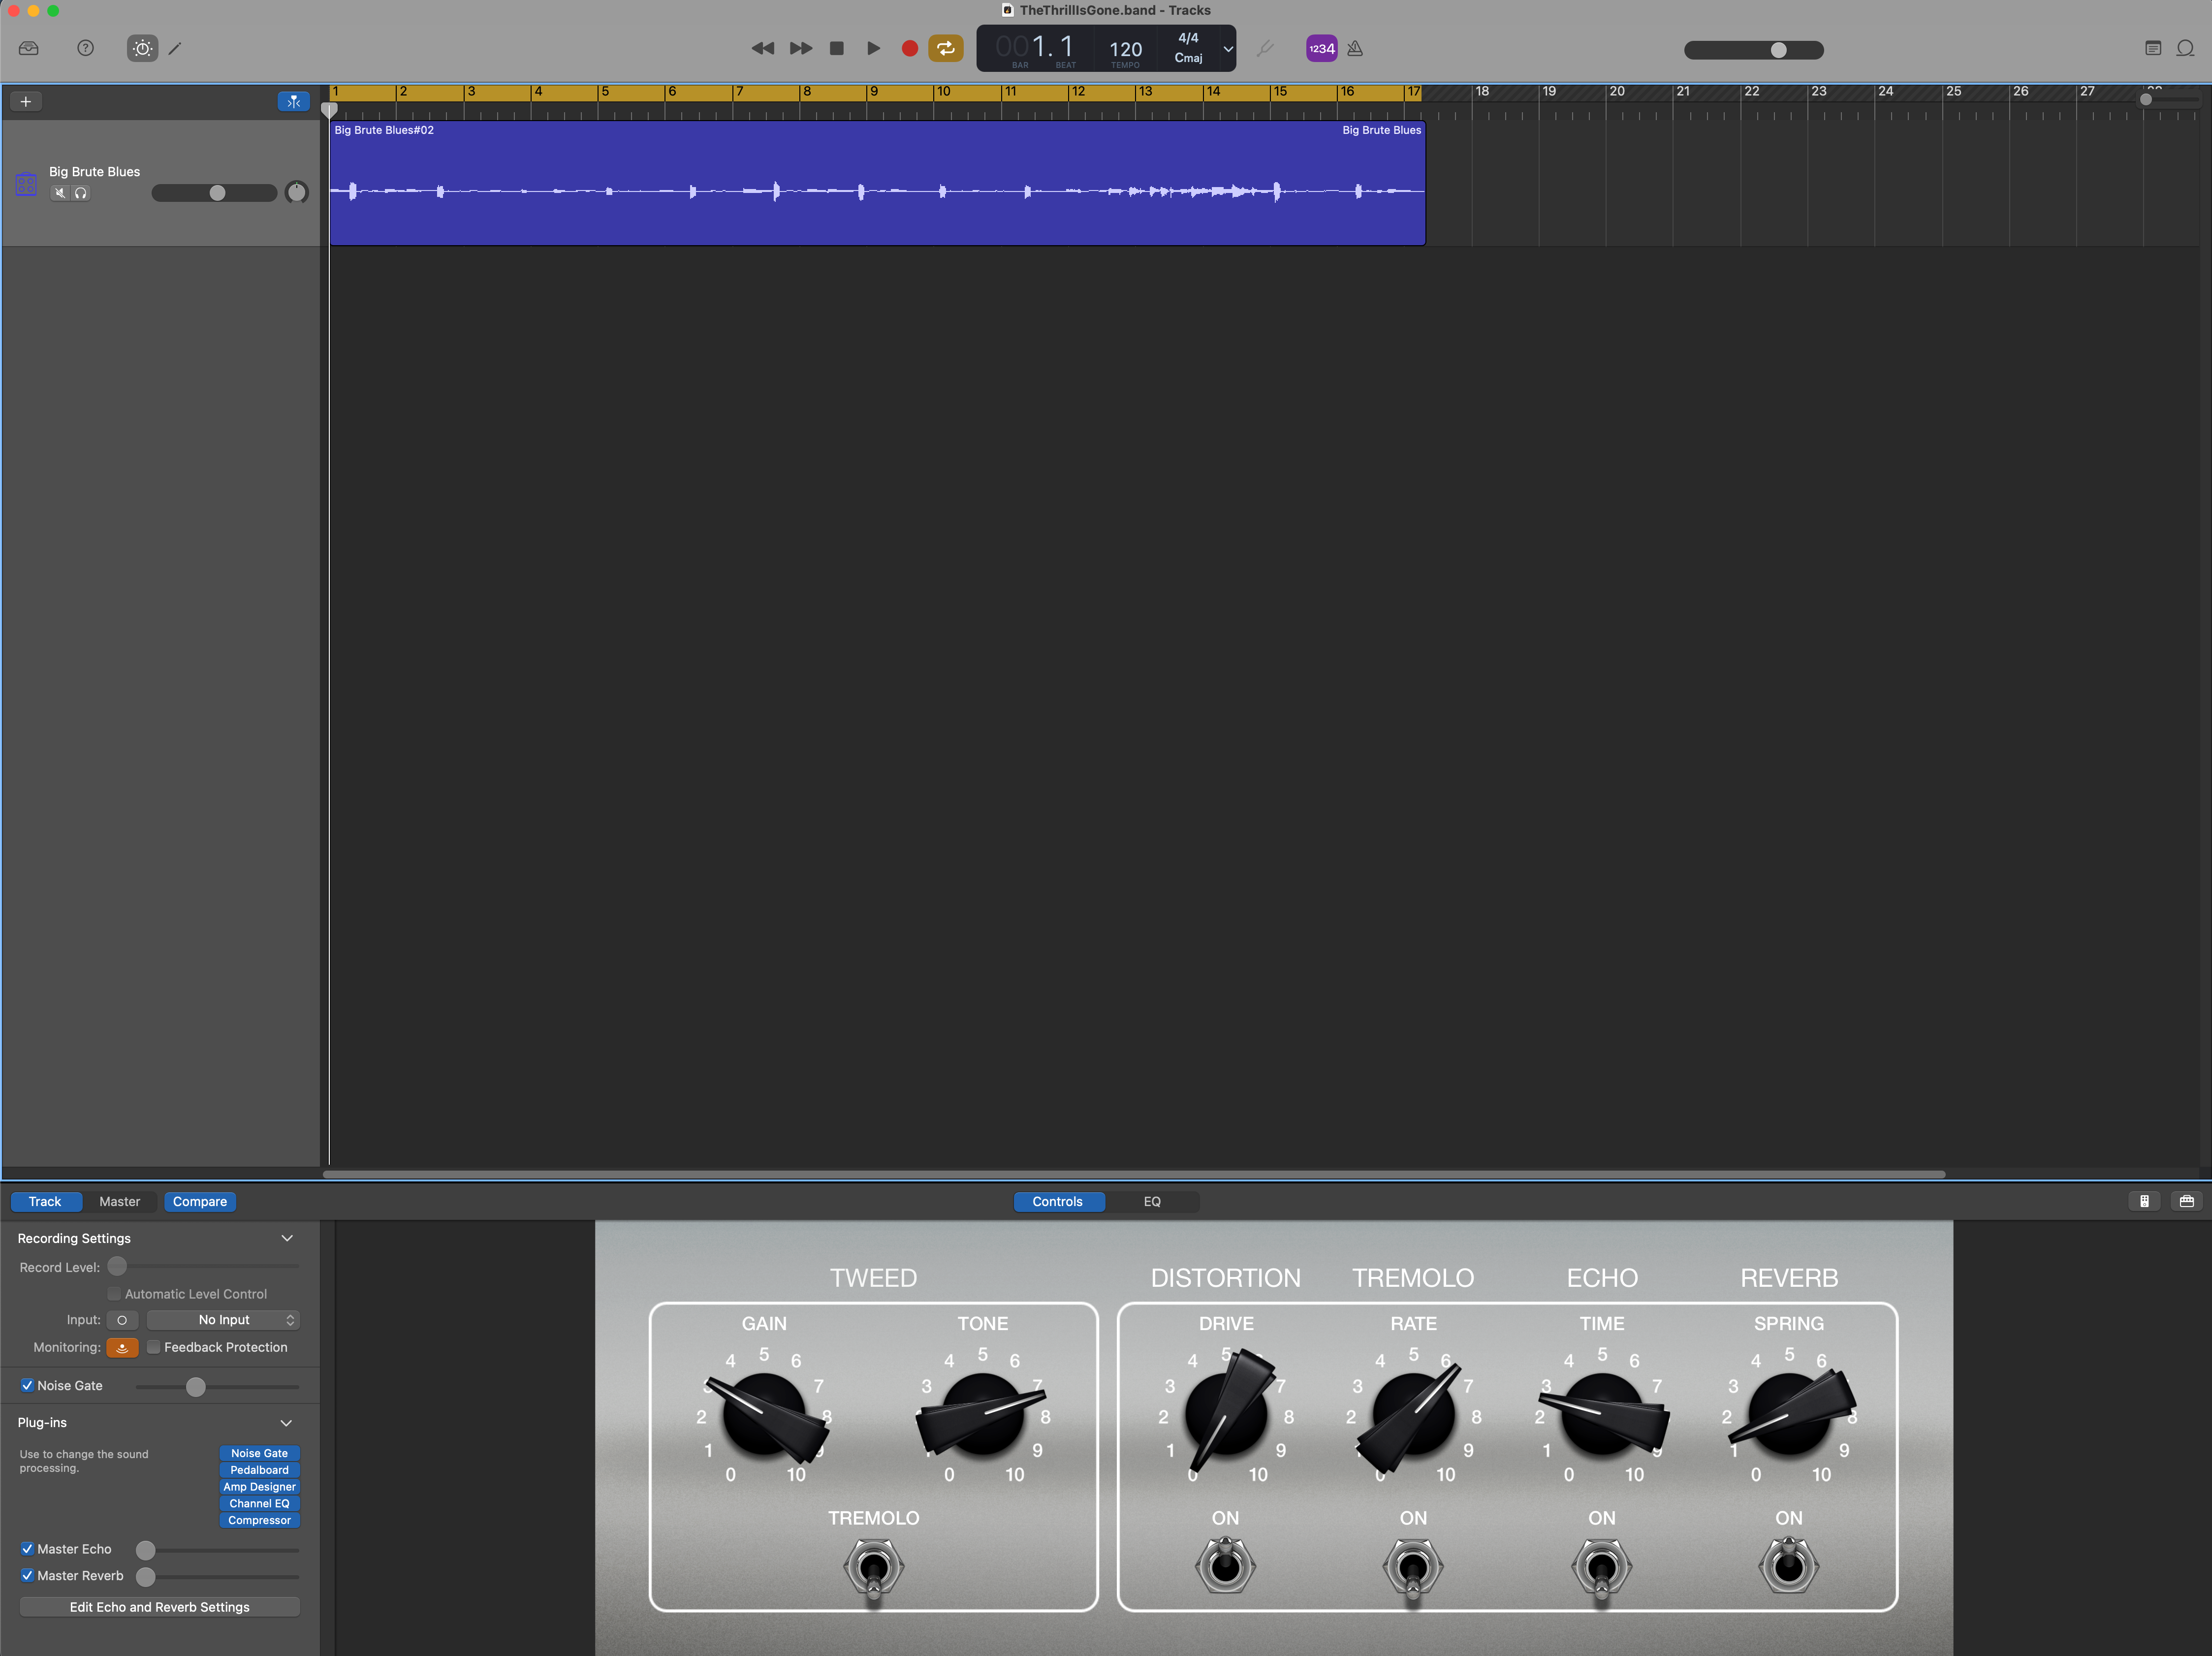
To access the amp library, open GarageBand and create a new track. Select “Guitar” as your instrument type, and you’ll be presented with a virtual amp interface. From here, you can choose from dozens of amp styles, complete with adjustable settings for gain, EQ, and effects.
GarageBand’s amp simulations include:
- Clean Amps: Great for jazz, pop, or anything requiring clarity and warmth.
- Crunch Amps: Perfect for rock and blues, offering just the right amount of grit.
- High-Gain Amps: Designed for metal and heavier genres, with aggressive distortion.
- Experimental Amps: Ideal for unique textures, ambient tones, and creative soundscapes.
Adding effects and customizing tones
Each amp model has built-in effects like reverb, delay, and modulation, allowing you to shape your tone further. You can add stompbox effects from GarageBand’s library for even more customization. This flexibility is invaluable for beginners exploring different styles or trying to replicate the tones of their favorite artists.
Getting Started with Neural Amp Modeler
Now that you’re equipped with the essentials, it’s time to dive into configuring your rig and exploring the world of Neural Amp Modeler (NAM). This open-source amp modeling plugin is a powerful, cost-effective way to unlock many tones. Let’s break down the setup process and help you get started.
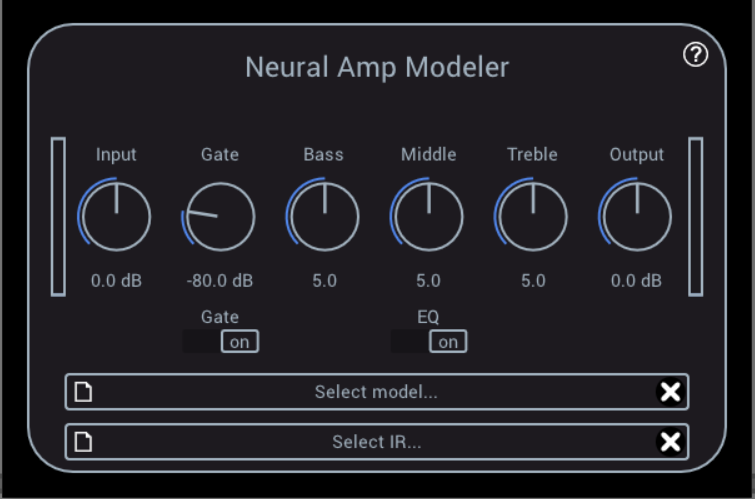
Installing and configuring the Neural Amp Modeler
Getting NAM up and running is straightforward:
- Download the Plugin: Head to neuralampmodeler.com and download the version compatible with your operating system (Windows or macOS).
- Install the Plugin: Follow the on-screen instructions during installation to add NAM to your DAW’s plugin directory.
- To load NAM in your DAW, create a new track, select the NAM plugin, and open it.
Loading Amp Profiles
NAM doesn’t come with preloaded amp profiles, but you can easily find and download them:
- Visit a profile repository like ToneHunt.org.
- Search for amp profiles (e.g., “Orange Rockerverb” or “Marshall Plexi”) and download your favorites.
- Save the profiles to a folder on your computer, ensuring you can access them easily.
- In NAM, click the folder icon, navigate to your downloaded profiles, and load one.
Pro Tip: Some profiles require a separate Impulse Response (IR) to simulate the speaker cabinet. If your loaded amp sounds incomplete, check if an IR is needed and load one accordingly.
First Steps in NAM
Once your profile is loaded, NAM provides a clean interface for adjustments:
- Noise Gate: Helps eliminate unwanted hum and buzz.
- Three-Band EQ: Fine-tune your tone with bass, mid, and treble controls.
- Impulse Response Section: Load cabinet simulations for a polished sound.
NAM’s profiles are straightforward: each replicates a specific amp setting. To change the gain or EQ settings, you’ll need to load another profile. This approach ensures accuracy but limits real-time adjustability.
Links to extended sources. (1 2)
Why choose NAM?
Thanks to its open-source nature, NAM is free, versatile, and constantly evolving. It offers beginner-friendly access to high-quality amp tones, allowing advanced users to customize and experiment. As the community grows, so does the library of amp profiles, making NAM a tool that scales with your needs. In fact, you can contribute to and modify the code as you please and this is a direction I would like to explore further over the winter break.
Experimenting with Tones: The Top NAM Profiles
One of the most exciting aspects of using Neural Amp Modeler (NAM) is the ability to access and experiment with a vast library of amp profiles created by the community. ToneHunt.org has emerged as the central hub for downloading these profiles, offering thousands of options to explore. Below, we’ll dive into the top NAM profiles, ranked by their popularity on ToneHunt and what makes them unique.
Top ones at the moment
10: Bogner Überschall Pack by AIL
This pack, which has been downloaded more than 1,000 times, features 17 high-gain Bogner Überschall amp captures. Known for its clarity and saturated tones, it’s ideal for hard rock and metal players. The pack includes a mix of gain settings, including clean tones, offering surprising versatility for an amp renowned for its heaviness.
9: Roland Jazz Chorus by Tim R
This clean amp, popular with nu-metal guitarists for its pristine tones, features four profiles with different channel settings. Paired with some delay, it’s perfect for lush, ambient soundscapes or precise, clean playing.
8: Fender Deluxe Reverb by WJ Hemway
A classic, this pack offers profiles at three volume levels (3, 5, and 10), capturing the essence of Fender’s iconic tube amp. Its versatility inspires various playing styles, from jazzy cleans to warm, crunchy blues.
7: Marshall JCM800 Zakk Wylde Signature by Arlington Audio
This pack includes a wide array of gain settings across both high and low-sensitivity channels. While some users expected more gain, the profiles offer vintage Marshall crunch that is perfect for classic rock.
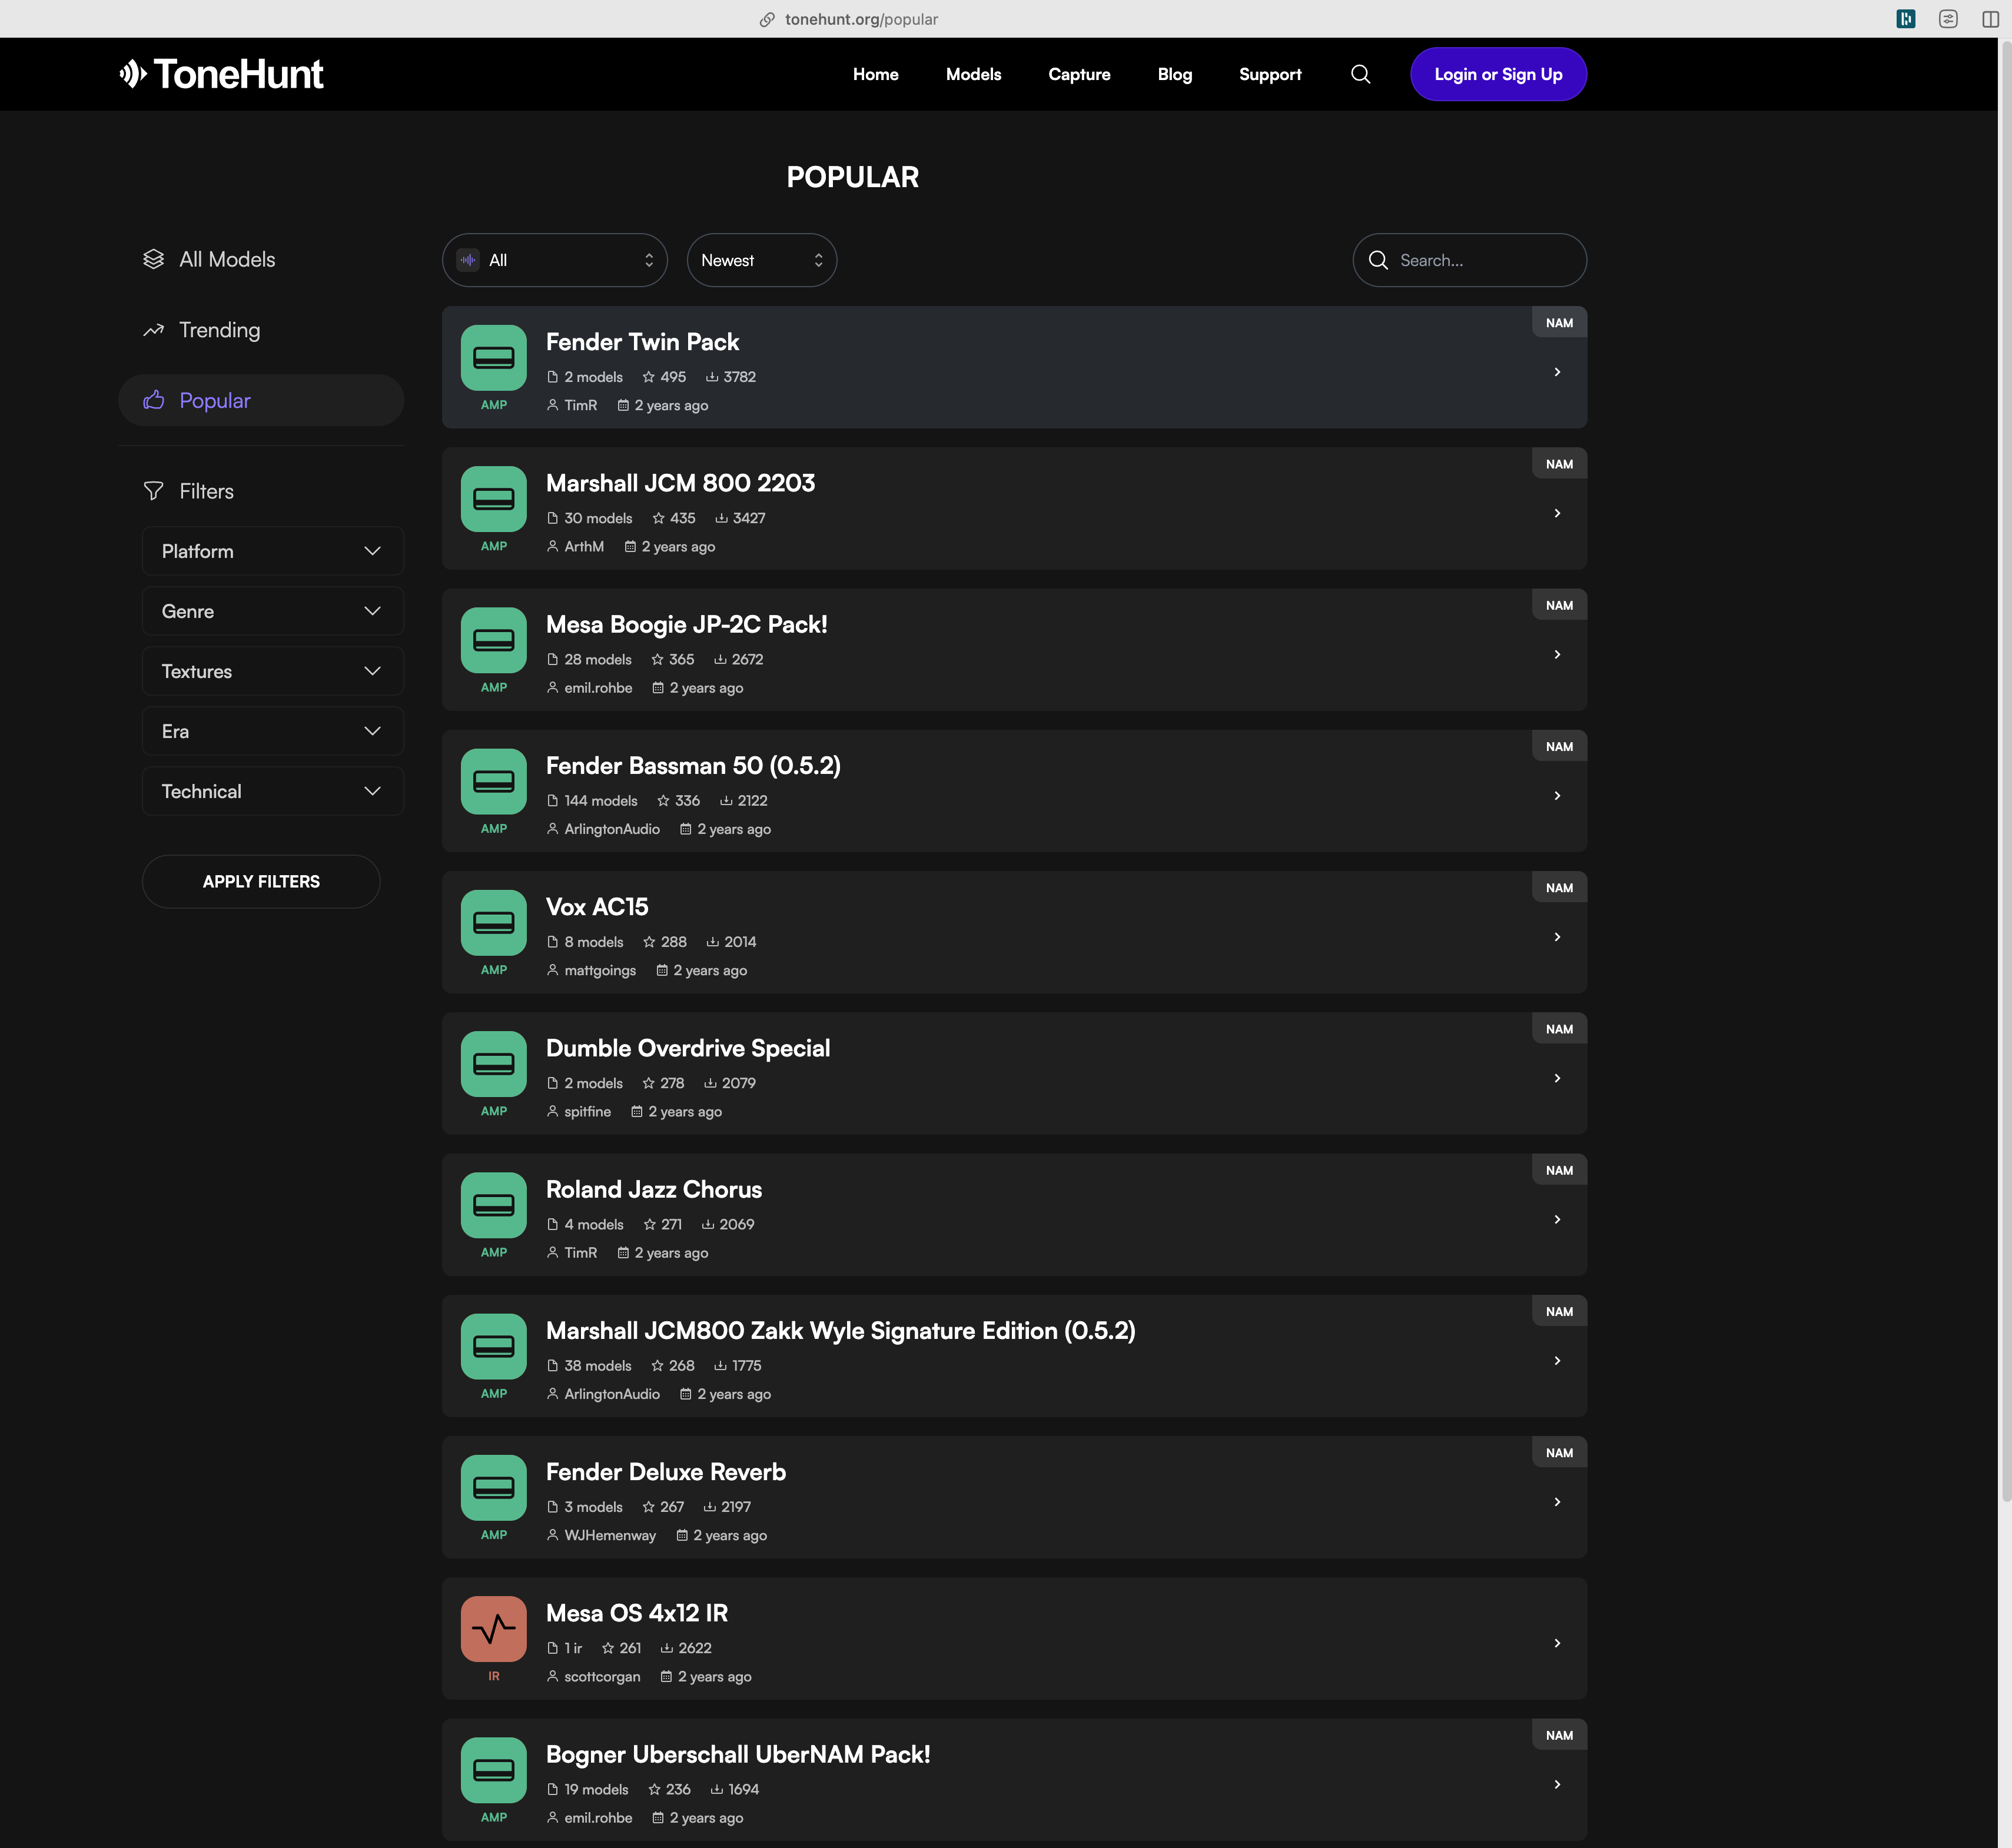
6: Vox AC30 by Matt
Known for its chimey cleans and edge-of-breakup tones, the Vox AC30 pack stands out with its unique character. It’s great for players seeking a quintessential British rock sound with a modern edge.
5: Dumble Overdrive Special
Although the real Dumble amps have a legendary reputation, this profile pack left some users underwhelmed. It still delivers a smooth, bluesy tone but may not live up to the mythical expectations surrounding Dumble amps.
4: Fender Bassman 50 by Arlington Audio
This pack captures the vintage charm of the Fender Bassman, offering profiles with a wide range of gain settings. The warm, fat tones are perfect for blues, rock, and even bass guitar.
3: Mesa Boogie JP-2C by AIL
This pack excels in high-gain lead tones and is designed to emulate John Petrucci’s signature Mesa Boogie amp. With profiles ranging from clean to “ultimate lead,” it’s a go-to for shredders and progressive rock players.
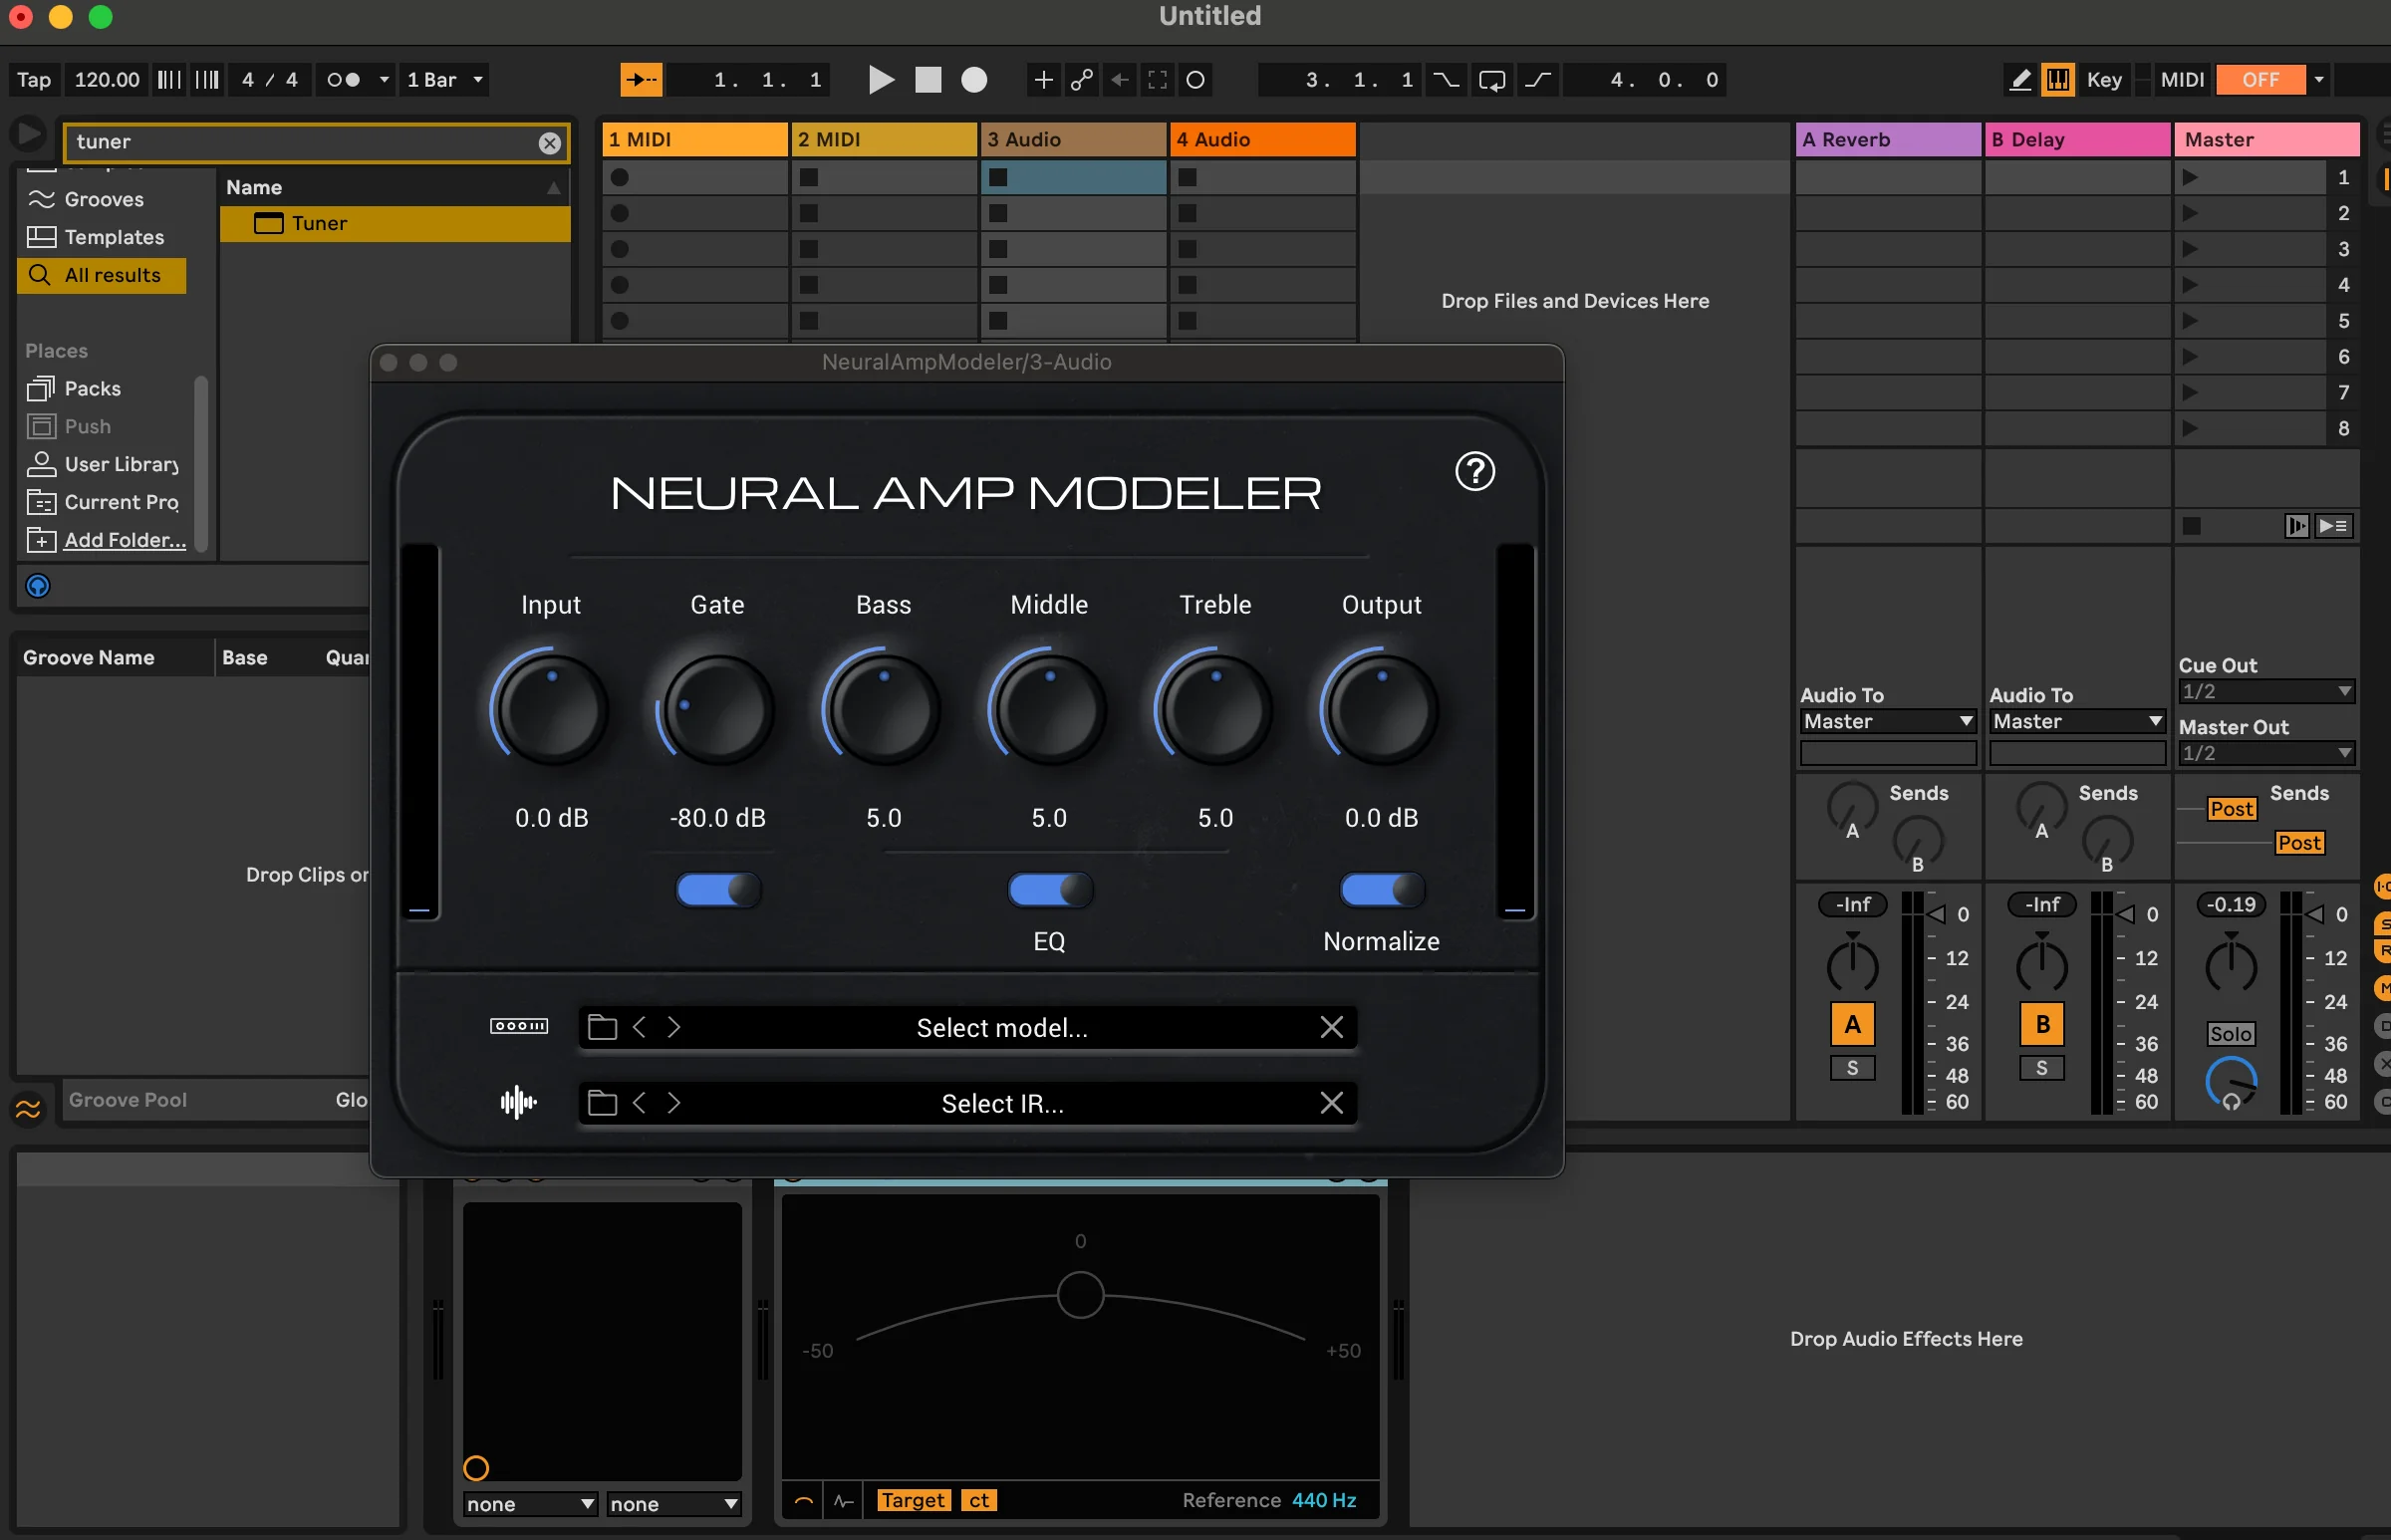
2: Marshall JCM800 2203 by Alexander
This profile captures the essence of the Marshall JCM800’s crunchy, aggressive tone. Whether playing classic rock or venturing into heavier genres, its inspiring crunch and EQ versatility make it a standout.
1: Fender Twin by Tim R
To many, it’s a surprise that the clean tones of a Fender Twin top the charts, but its versatility and sonic purity have earned it the most downloads on ToneHunt. With only two profiles, this pack delivers lush, crystal-clear tones that inspire creativity, especially with delay and reverb.
Link to listing.
Overall, each profile demonstrates NAM’s ability to faithfully replicate the tonal nuances of iconic amplifiers. They are a starting point for exploring genres, experimenting with effects, and shaping your unique sound. The open-source nature of NAM means that the library of profiles will only grow, providing endless opportunities for tonal exploration.
Plugins
Neural Amp Modeler (NAM) has inspired a variety of plugins, each offering unique features while allowing you to load NAM profiles. These plugins cater to different needs, from basic setups to advanced configurations. Here’s an overview of four popular NAM plugins to help you choose the one that’s best for you.
Link to related video.
Which one is right for you?
1. Neural Amp Modeler (Original)
This is the plugin that started it all. Simple and efficient, the original NAM plugin provides the core functionality of amp modeling with minimal CPU usage. Key features include:
- Straightforward Interface: Input, Noise Gate, Three-band EQ, and Output Gain controls.
- Single Profile and IR Loader: Load one amp profile and one IR at a time.
- Low CPU Usage: Ideal for users with basic laptops or limited processing power.
While it lacks advanced features or built-in effects, its lightweight nature makes it perfect for those just starting with NAM or working on resource-limited systems.
2. NAM Universal by WavMind
A step up from the original NAM, NAM Universal adds several enhancements:
- Dual Profile and IR Loader: Load two amp profiles or IRs simultaneously, enabling stereo or blended configurations.
- Built-In Profiles and IRs: Comes preloaded with curated options, eliminating the need to search for profiles initially.
- True Stereo Support and Tuner: Adds stereo input/output and a built-in tuner for added flexibility.
- This plugin strikes a balance between simplicity and expanded functionality, making it an excellent choice for those seeking a bit more versatility without overwhelming complexity.
3. Tonocracy
Tonocracy is the most flexible of the NAM plugins, offering a modular approach to signal chains:
- Customizable Signal Chains: Drag and drop amp profiles, IRs, and effects to build your perfect rig.
- Integrated Effects: Includes effects like reverb, delay, modulation, and more, eliminating the need for external plugins.
- Multiple NAM Profiles: You can load multiple amp profiles in one chain, such as an amp and a speaker profile.
- Advanced Options: Includes stereo capabilities and flexible routing for ultimate control.
However, Tonocracy requires more CPU power, so it’s best suited for users with higher-end systems who want a comprehensive virtual rig.
4. Amp Locker by Audio Assault
Amp Locker combines NAM compatibility with additional features:
- NAM Player: Load NAM profiles via the $5 NAM player.
- 3D IR Section: A standout feature allowing mic placement and stereo cabinet configurations.
- Built-In Pedals and Effects: Includes various pedals and rack effects for added tonal shaping.
While it offers a rich feature set, its higher CPU usage makes it less accessible for lower-spec machines. The $5 fee for the NAM player is a small investment for its expanded capabilities.
Which Plugin Should You Choose?
The choice depends on your needs and system capabilities:
- For Basic Use: Stick with the original NAM plugin for low CPU usage and simplicity.
- For Stereo and Preloaded Profiles, NAM Universal offers an excellent middle ground.
- For Maximum Flexibility: tonocracy is ideal for complete customization and built-in effects.
- For Advanced Features: Amp Locker provides the most robust options, especially for users interested in 3D IR and integrated pedals.
Looking Ahead: Pedal Sims
As exciting as amp modeling is, it’s just the beginning. Pedal simulations are the next step in creating a complete virtual rig. In a follow-up blog post, we’ll dive into the world of digital pedalboards, exploring how you can add virtual overdrives, delays, reverbs, and modulations to your NAM setup. Together, amp modeling and pedal sims allow for a virtually unlimited range of tones—all from your laptop.